How was the TEM sample milled?
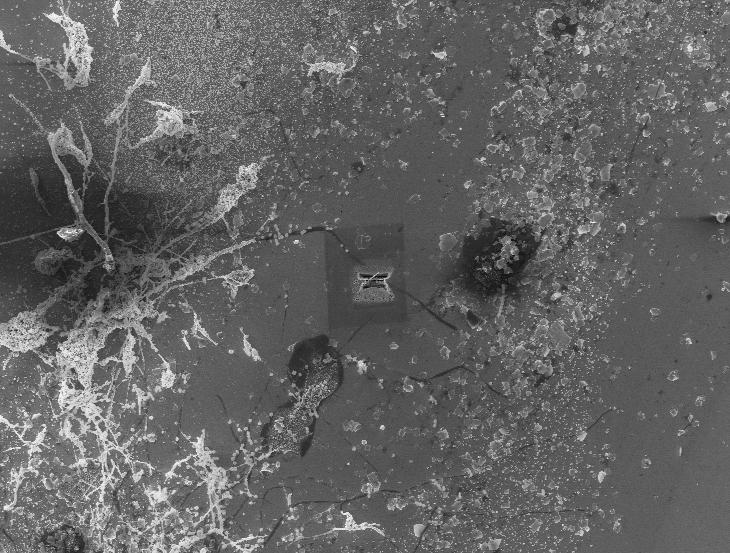
Firstly, an area of interest must be selected. For this project a sample was milled across the path of unknown biological material. The area is bounded by the grey box in the image below.
Once the area of interest has been selected the next step is to set up eucentricity. Since the SEM is equipped with a multifunctional stage, it is important that the rotational point be set to sample itself. This is controlled by "M", which is a numerical offset of the vertical height adjustment.
Eucentricity must be established before coincidence of the FIB beam (milling) and the electron beam (imaging) can be set up. While it is possible to image with the ion beam, it is not possible to do so without simultaneously ablating material. To reduce this the electron beam is shifted to scan the same region as the ion beam, so progress may be imaged non-destructively.
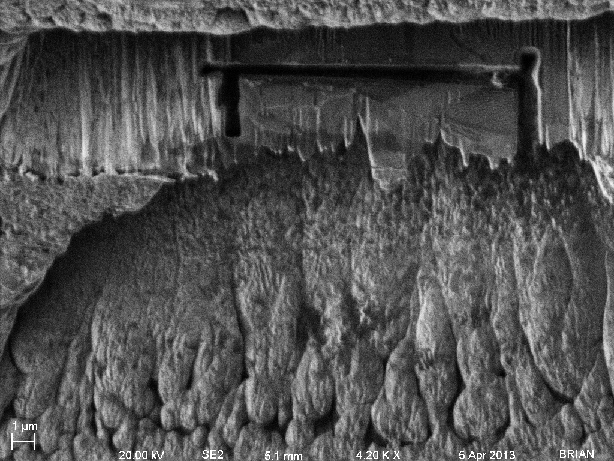
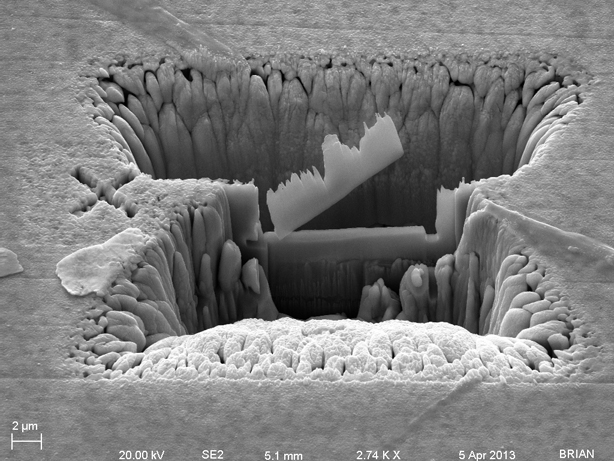
Since so much material is ablated away during the patterning, a bowtie shape is used, with the beam scanning in towards the center from each side. The TEM sample will be left as a thin section between the two trapezoids. This initial milling is done at relatively high current - 240nA - to quickly remove material. As the sample gets thinner, a current of 50nA (incidentally the FIB imaging current) is used to precise mill the sides of the sample. If needed, even lower currents can be employed for an even smoother polish.
|